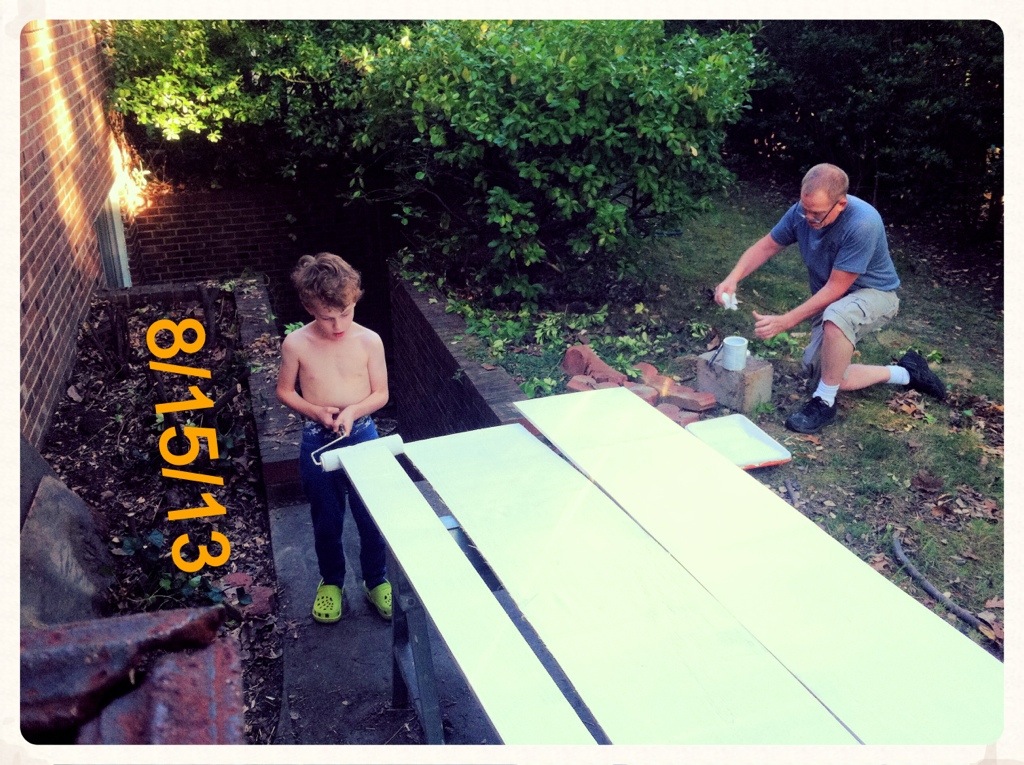
This is what Level IV Raccoon Remediation looks like. YES, we have already done this. WE HAVE. But the furry little bastards ripped the eaves back open and moved back in. AND they are trying to rip the roof off our shed. Or else there is another roof wrecking varmint… I prefer to believe it’s just them.
Category Archives: handmade
Whole Wheat Gingerbread Waffles
 Last night, as a special treat, Ian got to help me make whole wheat waffles for his dinner. (Breakfast for dinner- it’s a thing.) I froze the leftovers for his lunches. Apparently, he really likes them, because he tried to steal the cooling leftovers to eat all at once, and then this morning he raided the freezer to make sure I would put some in his lunch today. Keeghan and Michael also each gave them two thumbs up. The dudes had them with store-bought blueberry syrup that I believe came from Trader Joes, but you can definitely make some from fresh fruit. (These obviously are not on my eating plan, so I had one bite to make sure the recipe was good and stopped.)
This little foray into breakfast for dinner was partly inspired by the fact that I love that awesome kid and cooking with him is getting really fun, partly by a search for a little more variety to pack in his lunchbox, and partly by my embarrassing discovery that, among other excesses and tomfoolery, we had three jars of open molasses in the pantry. Molasses, in addition to being the sweet, delicious star of gingerbread goodies, is also really high in iron and lower on the glycemic index than sugar, so I Googled for recipes that used molasses and, after adjusting for what ingredients I had on hand, came up with this.
Whole Wheat Gingerbread Waffles
I can’t tell you exactly how many this recipe makes, because 1- it depends on your waffle maker, and 2- the dudes were eating them so fast I didn’t really get a chance to count. But it’s at least a dozen square waffles, and probably 18.
- 1/4 cup plus 1/2 Tablespoon canola oil
- 5 large eggs
- 2 cups skim milk
- 1/2 Tablespoon vanilla extract
- 1 1/2 Tablespoons molasses
- 2 1/4 cups white whole wheat flour (I use King Arthur)
- 2 Tablespoons baking powder
- 1 teaspoon ground cinnamon
- 1/2 teaspoon ground nutmeg
- 1/2 teaspoon ground ginger
- 1 1/2 Tablespoon sugar
I turned on the waffle iron to preheat, and then, in the biggest mixing bowl I have, we combined the wet ingredients. (Spray the measuring spoon with cooking spray before you measure the molasses.) I let Ian prick each egg yolk with a fork and then taught him how to whisk the ingredients together. While he did that (greatly amused at how the molasses sank to the bottom and then stuck to his fork before finally combining with the other ingredients- a little side lesson on density going on there) I measured the dry ingredients into a smaller mixing bowl and combined them well. Ian slowly added the dry ingredients to the wet while I blended with a hand mixer. (If it looks too thick when you are done, add some more milk, 1 Tablespoon at a time, until it looks right for waffles.)
I dropped the batter onto the waffle iron (use the appropriate quantity for your iron) and cooked each one until it was golden brown- 2:30 was about perfect, but expect a little trial and error. These waffles were light, fluffy, and released beautifully. To freeze leftovers, just cool them completely on a wire rack and then package them for the freezer. I used sandwich bags, so they could go off to school with my dude, but you could of course put them between layers of waxed paper in a freezer container.
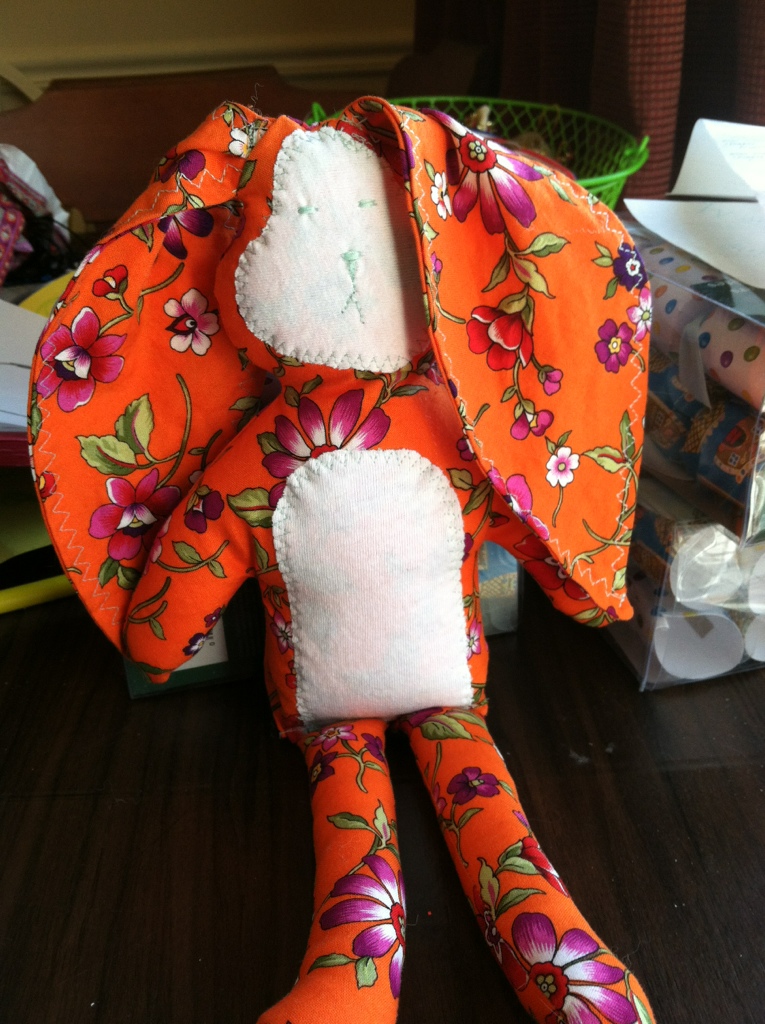
Floppy Eared Bunny Pattern
 This floppy eared stuffed bunny has articulated joints, requires no hand sewing, and takes just 1/4 yard of fabric, so he is also perfect for using up scraps from your stash. Download here: FloppyEarBunnyPattern12-2012semelesriches
The pattern does NOT include seam allowances. I recommend that you use this pattern by printing it onto cardstock, cut out your pattern pieces, and then then trace them onto your material on the wrong side. Sew along the line and THEN cut your pieces out. This allows you to work more precisely and without worrying that tiny pieces will be destroyed by bobbin snatch. Use a short stitch length (I like 1.5 on my machine) and GO SLOWLY.
Apply the appliques to the rabbit front first. I prefer to freehand my appliques and the face, but if you prefer, I have included some applique pieces in the pattern. Just use a tracing wheel and pattern transfer paper to mark where the applique pieces should go, sew them in place, and then flip the material over and trace the body piece onto your fabric. You can embroider or draw/paint a face. I like the bar stitch on the widest setting for eyes and nose.
Sew around the body, leaving open where indicated. Sew around each limb and ear. Cut out the ear and limbs and turn them inside out. Press and topstitch your ears- I like to use a decorative stitch- and create the dart that shapes the ears. Then, poke the bottom end of the ears out through the opening in the top of the head and sew the rest of the head closed. turn the body and head right side out. (You should start to see your rabbit’s personality now!)
Stuff the limbs. Place the arms in the openings on each side of the body and sew in place. Stuff the body, turn up the bottom of the body opening, and sew closed with the legs in place. Now you’re finished except for showering the bunny with love!
Appliqué bunny
I’m going to refine this before I make the pattern. I think the arms being one piece with the body makes it look too blocky. This one is wearing a sad face because I’ve made him for a sick friend. But I will have a PDF for this in the patterns section soon. As shown, he took just 1/4 yard of fabric plus the appliqué scraps.
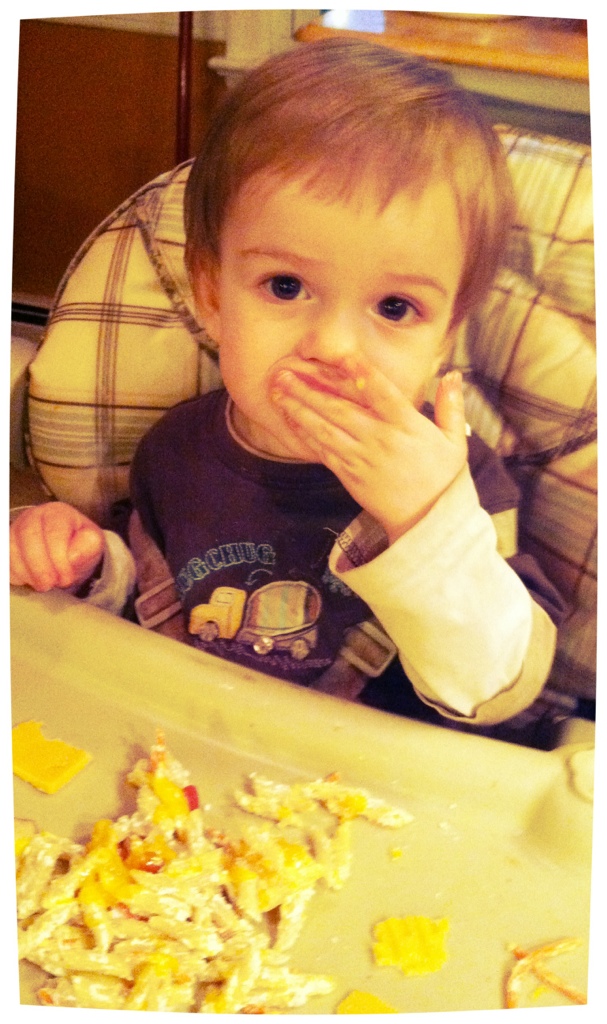
Kids’ casserole
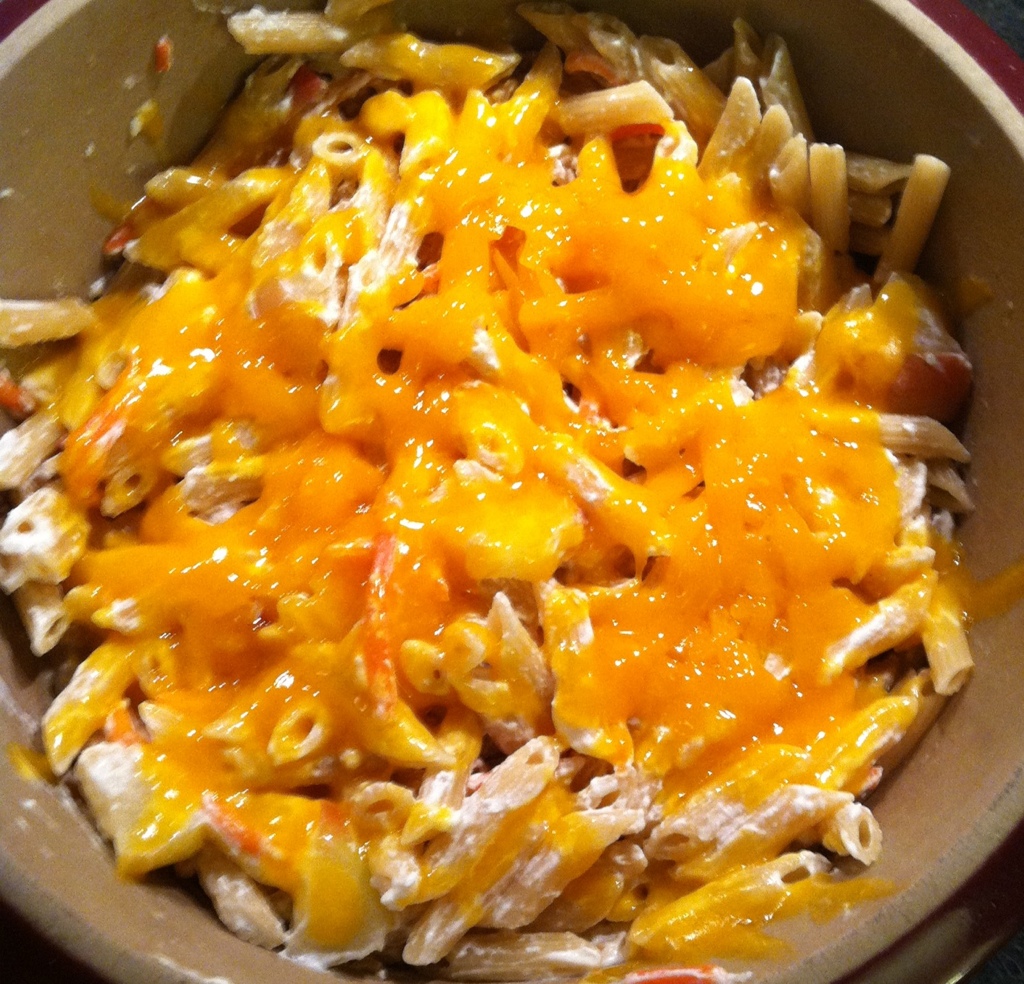
1/2 lb of mini penne, cooked
1/2 cup plain, nonfat Greek yogurt
1/2 apple, chopped
1/4 cup shredded carrots
1/4 cup grated cheddar
Microwave the apple and carrots for about 1 minute. Mix all ingredients except cheese in a microwave safe casserole. Top with cheese. Microwave 30 seconds to melt cheese.
(If you have a round covered baker, or other small, covered stoneware casserole, add the pasta with liquid just to cover the pasta and microwave on high for four minutes, stir, do 3 minutes, stir, add apples and carrots and do 2 more minutes. Add yogurt, top with cheese, and give it 30 seconds. Also, I used chicken broth for the noodle cooking liquid. Easy peasy, and one dish cleanup.)
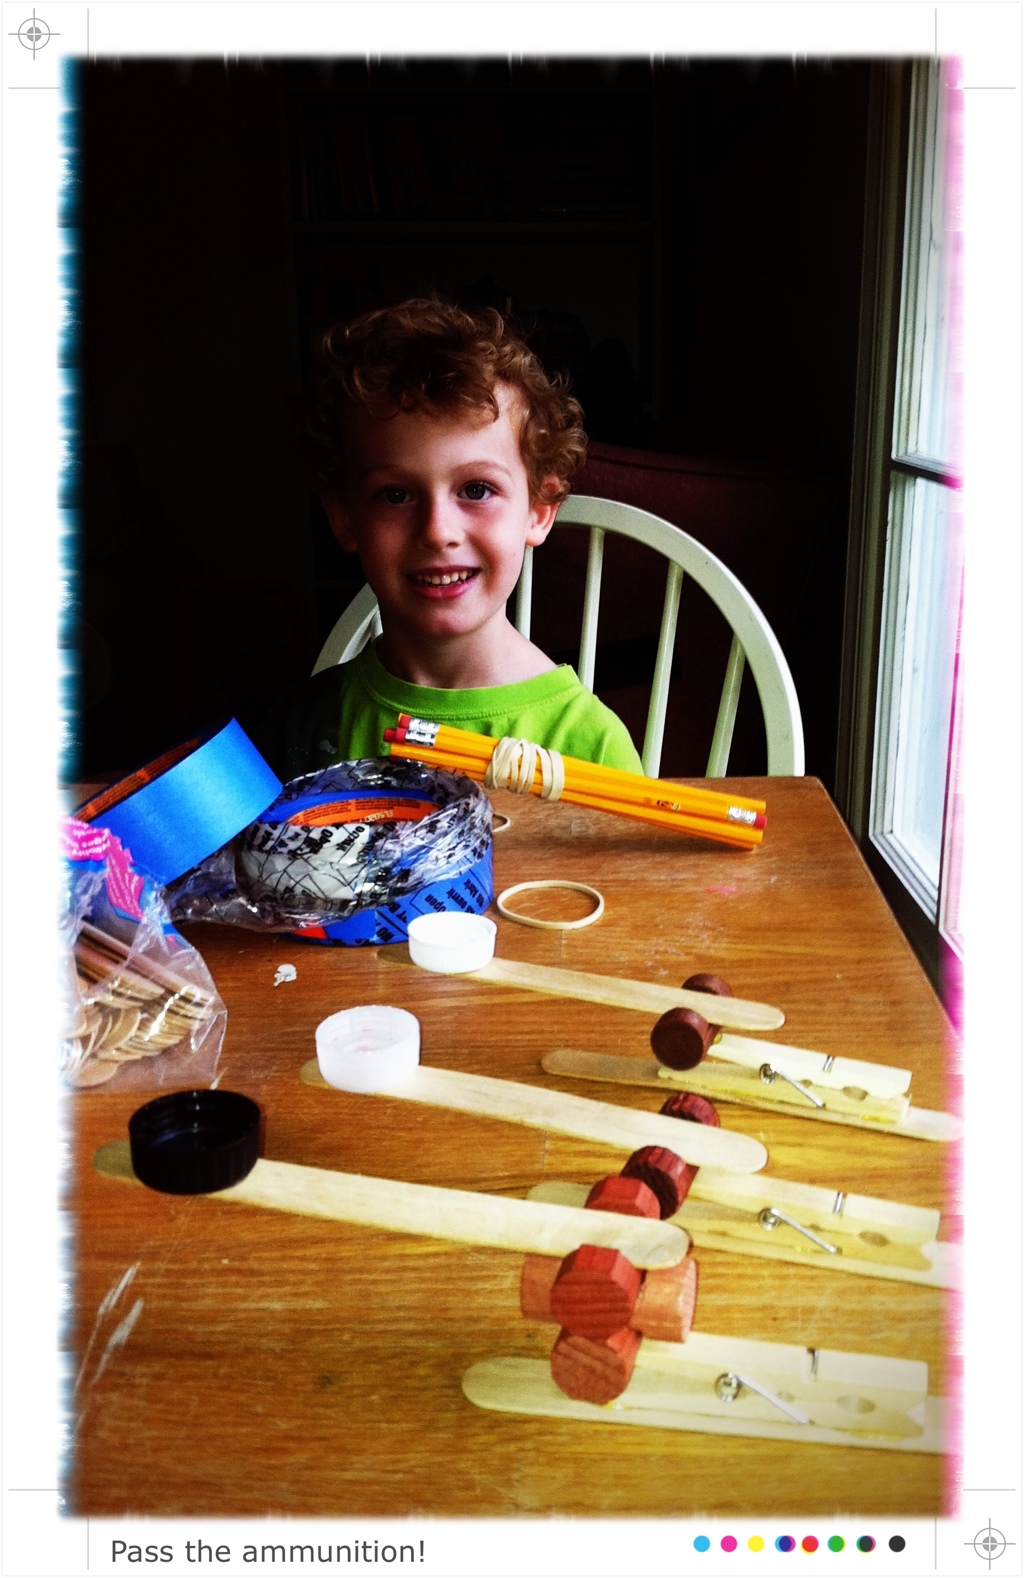
Siege
One picture, two ways
Must be the end times
If you’ve ever had a baby, you’ve heard the phrase, “do you know your baby is missing a shoe/sock?” so often that you’ve started answering “excuse me, ma’am?” with “yes, it’s in my pocket.”
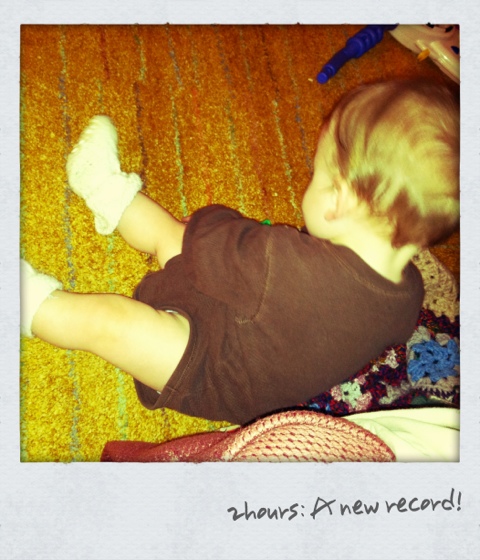
And if you’re a knitter, you know there’s nothing nicer than home made booties, until baby starts pulling up and you learn why baby socks have no-slip appliqués on the bottoms.
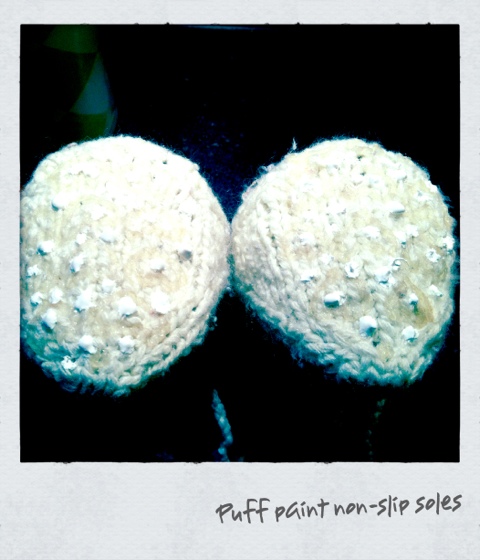
Three years ago we were deep in Ian’s “won’t wear shoes” phase and I was working hard on booties of every description. After a lengthy perusal of the Ravelry forums, I concluded that gel-style fabric paint was a good option for non-slippage. It worked great and didn’t look bad, since the bottoms of booties are often visible. But, after three years in storage, it turned hard and slick, which is no use. So I’m retro-fitting Ian’s old booties with puff paint.
I originally made these with ties. Which worked fine for Ian, who was walking. But on a crawler/scooter/tiny trouble maker, they don’t work so well. So I’ve replaced them with knitted elastic. Which seems to be working. So maybe baby booties that stay on are not a sign of the end of the world. At least, not just yet.
Going on now
I’m trying out this recipe for home made yogurt.
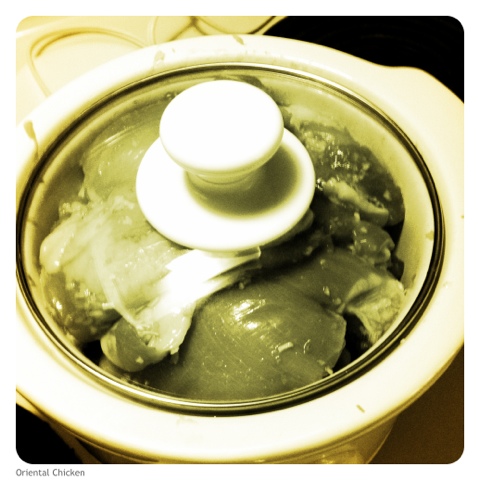
There should be enough for dinner tonight, and Chicken Fried Rice tomorrow.
Hung by the Chimney with Care
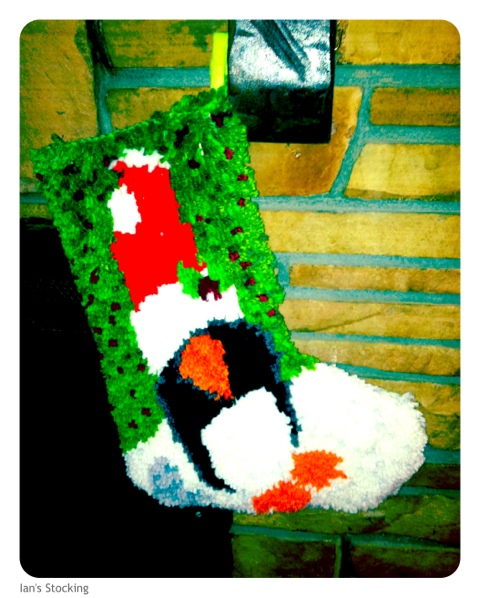
When my brother and I were kids, my mother latch hooked stockings for us from kits. We all look forward to seeing them every year. So when Ian was born, she started looking for a kit so I could make him a stocking. She quickly learned that They Do Not Make Them Any More. Everywhere she went she heard things like, “oh, no one latch hooks amy more,” which is ridiculous. Because you can find PLENTY of latch hook kits online or in catalogs and some craft stores, but not one that makes a stocking. I have a feeling that this particular item was pretty special. After hunting high and low, I decided I didn’t need no stinking kit.
I ordered some kits off eBay that had enough canvas, I ordered latch hook yarns in the colors I needed. I ordered a latch hook, TWICE because I lost the first one. And I free-handed the design from a holiday photo. Guess what. It turns out I Do Not Enjoy Latch Hook Very Much. So I finally finished the latch hook last year, but not in time to finish the stocking. Guess who was hand sewing green fleece onto the back of a stocking on Christmas Eve? So when I noticed I’d seen the loop on the wrong side, I just said… Well, I won’t repeat that. But there you are. It remains to be seen whether I have another one in me.

